Dying eggs for Easter was always a tradition in mine and my wife’s childhood, so of course we have to do it for our kids! This year for Easter we decided decorate eggs a little differently though. We used crayons and paint instead of dye.
Melting Crayons Over Eggs
Materials:
- Hard boiled eggs
- Crayons (we got a $.99 box of crayons just for this)
- Cheese grater
- Plate
- Cookie sheet and foil (or just foil)
- Paper, tape, and scissors
Directions:
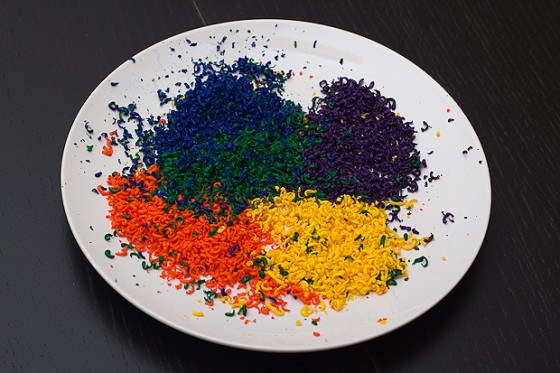
- Grate crayons onto a plate (It is a little difficult recovering your cheese grater after running a box of crayons through it. Be sure to use one you don’t care too much about…or one your wife doesn’t care about).
- Create little paper tubes to set boiled eggs on.
- Place a sheet of foil on a cookie sheet.
- Boil eggs and place them immediately onto the paper tubes (on the cookie sheet). Be careful to not burn yourself, and be sure the kids understand how hot they are.
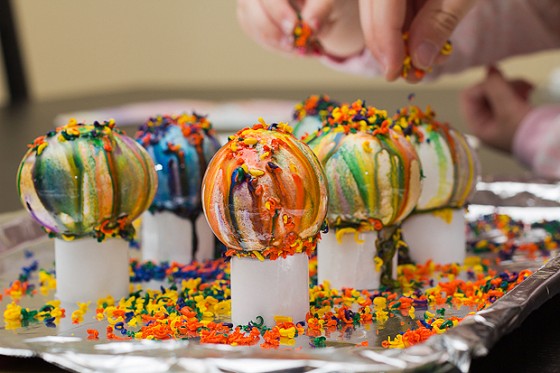
- Sprinkle crayon shavings over eggs.
- Turn eggs over a bit, and sprinkle uncovered areas.
- Place the eggs in the fridge to finish cooling.
Painting Eggs
Materials:
- Hard boiled eggs
- Acrylic paint
- Cookie sheet and foil
- Paper, tape, and scissors
Directions:
- Boil eggs and let cool in fridge.
- Make enough small paper tubes for every egg.
- Place foil on cookie sheet (this makes clean up easy).
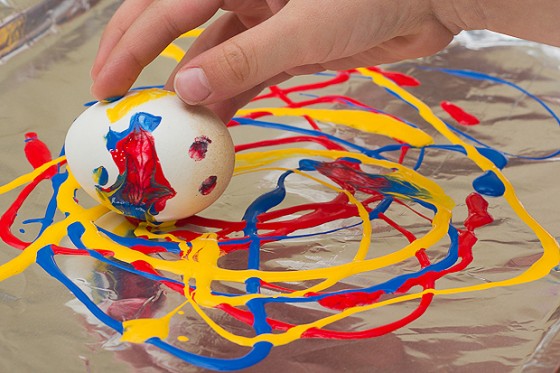
- Drip acrylic paint all over foil.
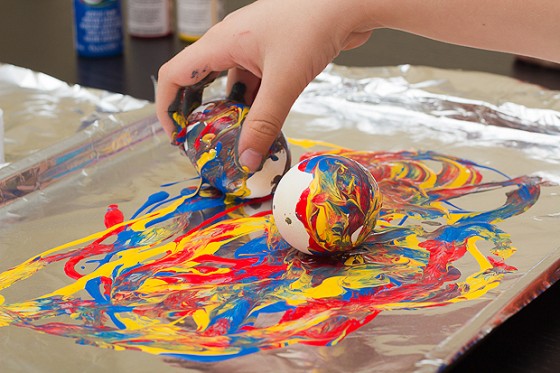
- Let your kids go nuts rolling the eggs through the paint. They will get paint on their fingers…it’s ok!
- Place finished eggs on paper tubes.
Tip:
We used primary colors. Eventually these colors mixed together and looked like mud. If you use different shades of the same color, you’ll get better marbling designs.


