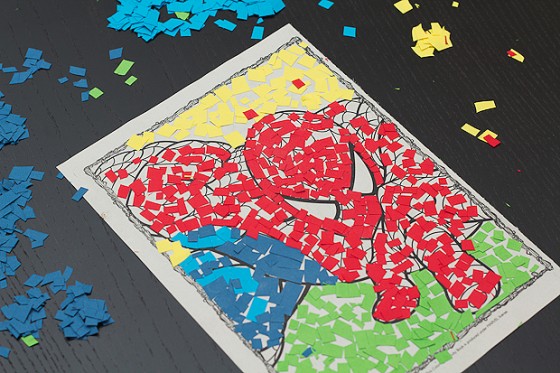
Mosaics for kids can be a lot of fun. They’re kind of like creating your own puzzle. If you’re not sure what they are visit some of the reference links below.

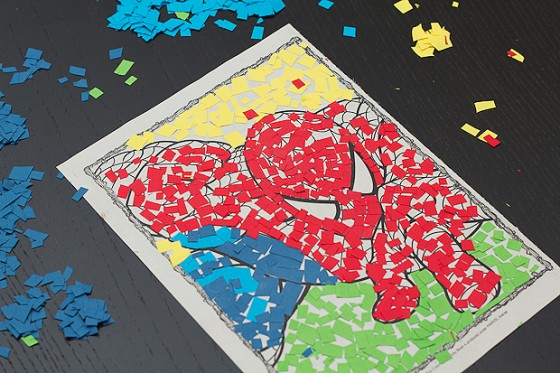
We tried a few different versions, ones with big pieces, and some with small pieces. Small pieces give you more detail, but take more time. Large pieces give you less detail, but take less time to complete. We tried mosaics on plain colored paper and coloring book pages. The kids had a lot of fun with both.
A little about mosaics
Mosaic art goes way back even BC, and was used a lot in religiously significant buildings. It is often referred to as “rich” art, because of it’s jewel-like attributes. Artists have used a wide variety of materials to create mosaics, such as glass, rock, glazed clay tiles, and even mirrors.
To learn a little more about the history and significance of mosaics in the art world, check out the mosaic wikipedia article. It also has some great reference links.
Reference links
- Great close up photos of ancient mosaics in the Petra Church.
- Awesome Aztec mosaic masks
- Here’s a cool video of a robot making a mosaic.
Supplies
- Colored construction paper
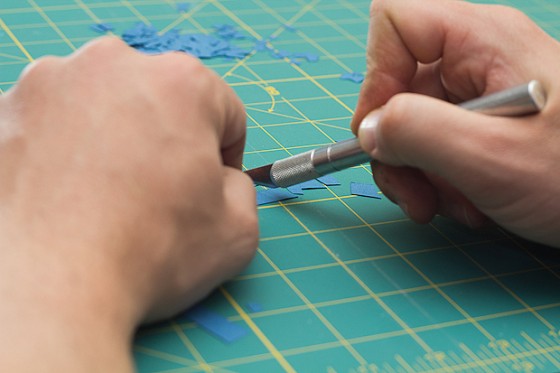
- Scissors (or x-acto and cutting board)
- Page from your kid’s favorite coloring book (let them pick the page with your guidance)
- Preferably spray mount but white glue or glue stick will work too
Directions
- Choose with your child a page in their favorite coloring. Help them understand what pages will work best. Pages with large simple illustrations work best for smaller kids. More complex illustrations can be fun too, but will require more time…and patience 🙂
- Remove the page from the coloring book.
- Before you sit down with your kids to do this activity pre-cut all the pieces. Cut a variety of colors. I used an x-acto and cutting board but scissors will work fine too.
- The size of pieces you cut will affect the activity. Larger pieces are easier and will shorten the time it takes you to prepare. Your kid will also complete the activity quicker. Smaller pieces allow for more detail, but it takes longer to prepare. You may also want to encourage your kid to not finish it one day, but spread it out over a couple days.
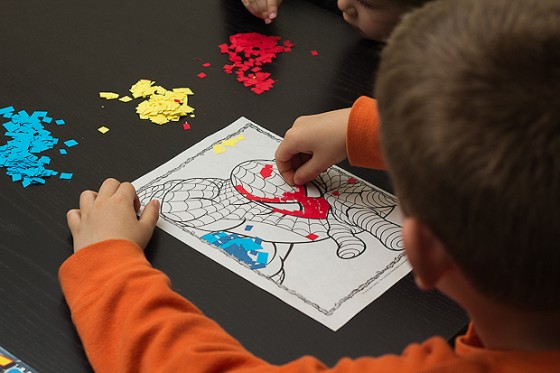
- Use spray mount and liberally cover the coloring book page. I preferred using spray mount because it eliminates the need to place glue on every single little piece of paper. If you cut large pieces of paper, using white glue or glue stick will be fine.
- Show your kid how to place the first couple pieces, then let them do the rest.
- If the page loses its tack, respray the page with spray mount. Don’t worry about spraying the pieces already placed.


Most importantly have fun with your kids! If you were to do this project again, how would you do it differently?